


/https%3A%2F%2Fstorage.canalblog.com%2F90%2F29%2F312641%2F19161802_o.jpg)
/https%3A%2F%2Fstorage.canalblog.com%2F86%2F11%2F312641%2F16641108_o.jpg)
/https%3A%2F%2Fstorage.canalblog.com%2F32%2F65%2F312641%2F15582707_o.jpg)
/https%3A%2F%2Fstorage.canalblog.com%2F88%2F68%2F312641%2F15177379_o.jpg)
/https%3A%2F%2Fstorage.canalblog.com%2F39%2F72%2F312641%2F15176476_o.jpg)
Tuto framboise / Raspberry tutorial
Me voilà seule a la maison pour une tite semaine donc plein de temps pour fimoter !! Je commence donc avec un petit tuto framboise ! Here it is... I'm alone at home this week, which leqves me a lot of free time for Fimo ! So, i start with a Raspberry tutorial !
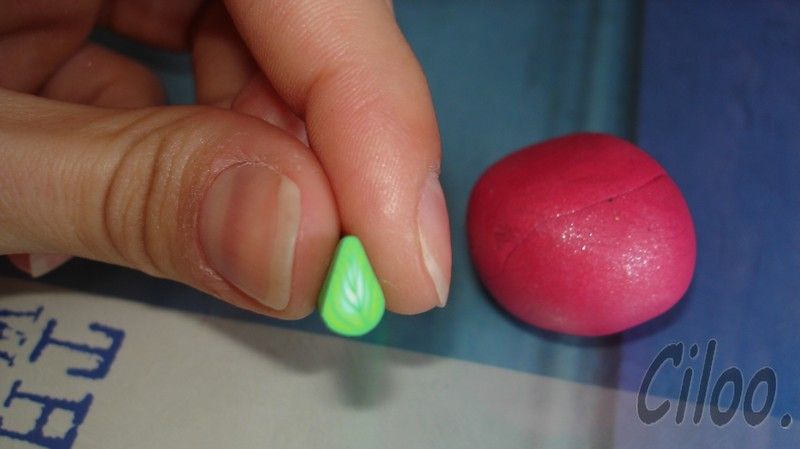
On commence avec une boule de pate couleur framboise et une petite cane feuille. Let's start with a raspberry couloured ball and a leaf cane.
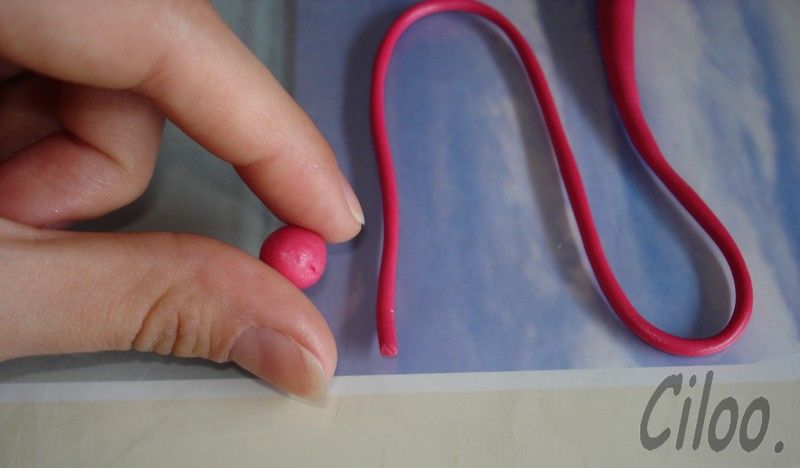
Avec la pate framboise, on sépare une petit boule et on allonge le reste en un colombin assez fin et assez long. With the raspberry clay, make a small ball and roll out the rest into a long and thin lenghth.
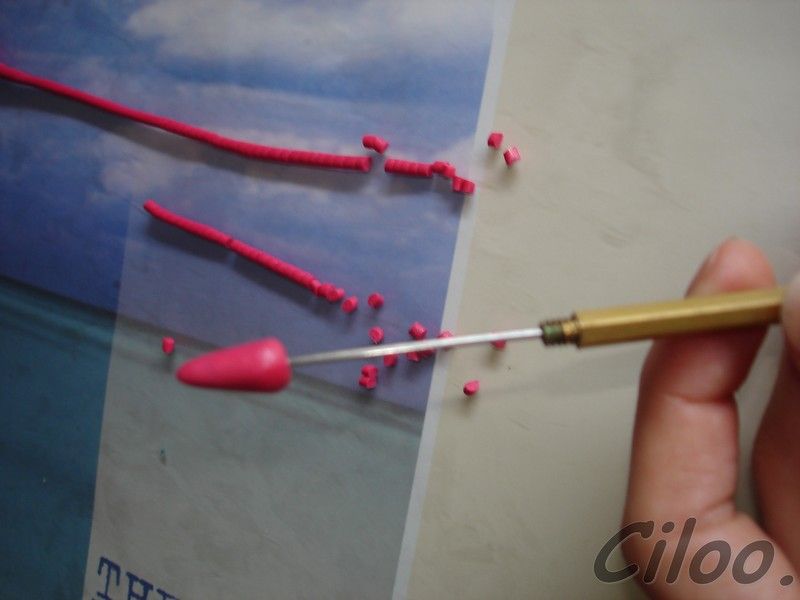
Modeler la petite boule en cône, il servira de coeur a votre framboise. Et découper le colombin en tout plein de parties égales, ces petits morceaux serviront à faire la pulpe de la framboise. Give a drop shape to the small ball and cut the length in a lot of small, equal pieces. The drop will be the "core" of the raspberry and the little pieces will be the pulp.

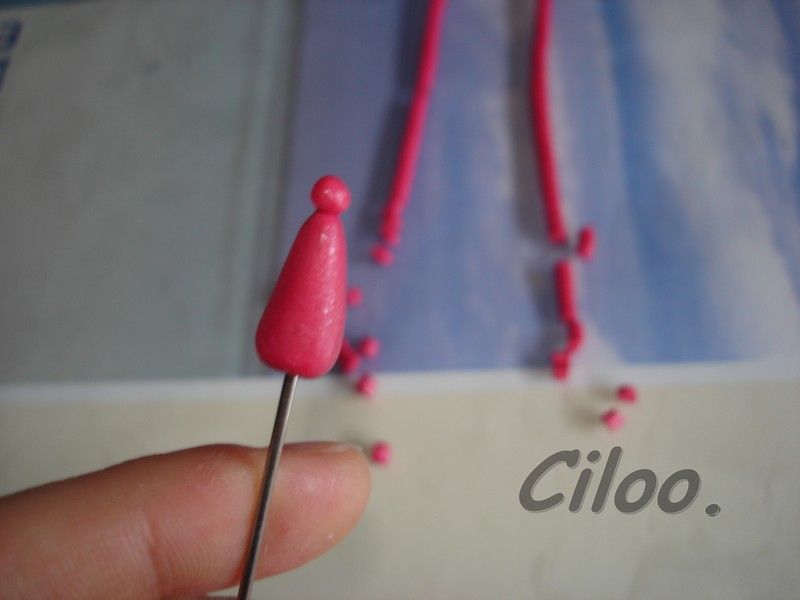
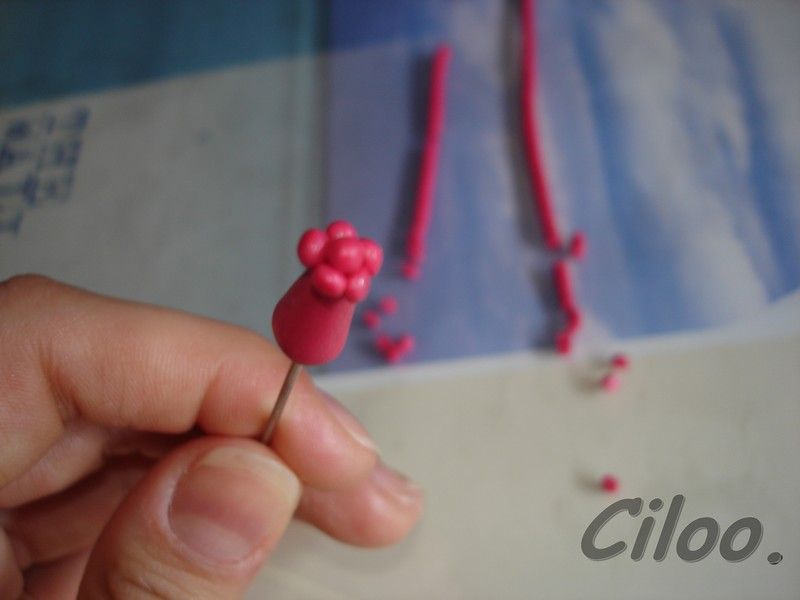
Piquer le coeur de la framboise sur un pic. Ca permettra de ne pas tasser les petites boules de pulpes au fur et a mesure de la réalisation. Pick your drop shaped raspberry core onto a toothpick, it will help not packing the pulp by holding it.
Former des petites boules avec vos morceaux de colombins et commencer à les appliquer sur le cone en partant de la pointe... Shape the small pieces of length into small balls and start applying them on the core starting by the point...


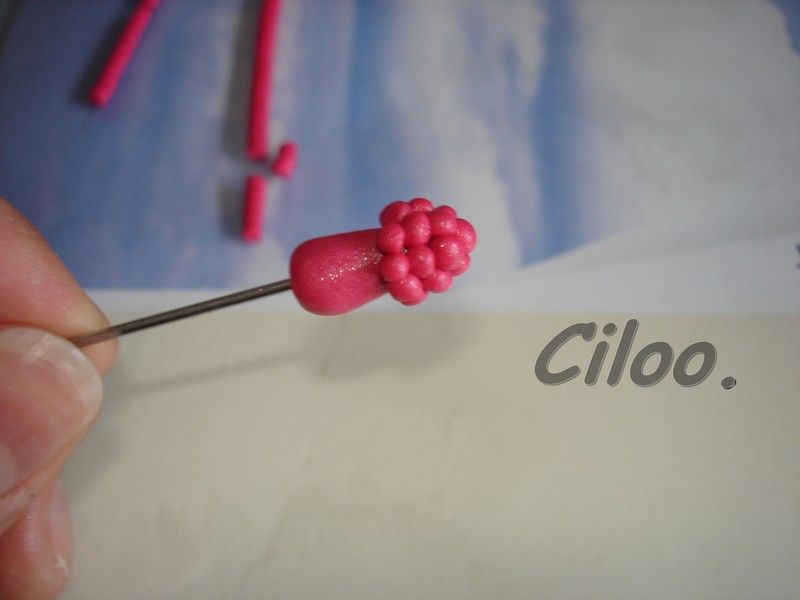

Petit a petit jusqu'à recouvrir presque tout le cône... et on obtient ça :
Step by step, until it covers almost all the cone... It shall look like this :
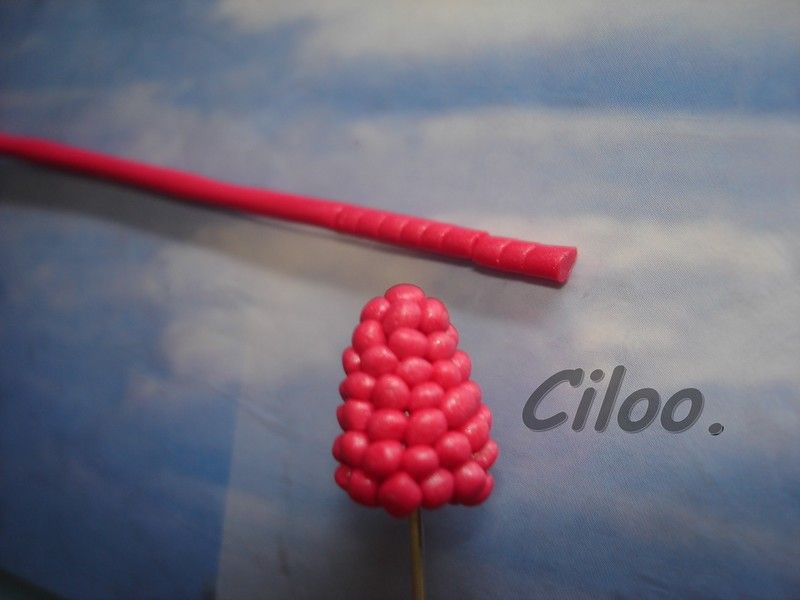
A ce point là, retirer délicatement la framboise de son pique et couper 4 tranches de canes feuille. At this point, take out the raspberry delicatelly from the pick and cut 4 slices of the leaf cane :

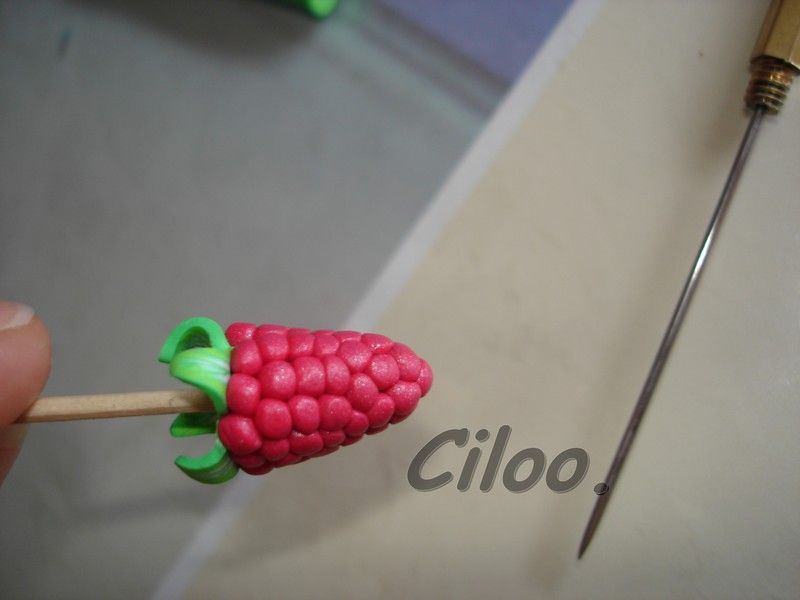
Appliquer les feuilles sur le haut de la framboise, sans boucher le trou. Les faire bien adhérer (sans écraser trop la pulpe de la framboise... C'est la partie difficile...) et recourber les feuilles vers le haut a lùaide d'un cure-dent. Apply the leaves on top of the raspeberry, without blocking the whole. Fix them well, but don't pack the pulp, this is the tricky time ! Then, curl the leaves with a toothpick.


Et voilà !!! Plus qu'à faire cuire , plantée sur un cure dent pour ne pas l'écraser... Vernir et fixer l'attache et hop !
And here it is !! Ready to be cooked, onto a toothpick not to smach it. Varnish and fix a ring !

Et ce qui ets tiptop, c'est que ça marche aussi avec les mures !!!
And the great thing is that this tutorial works also for the blackberries !!!


/http%3A%2F%2Ffile%3A%2F%2FC%3A%2FDOCUME~1%2FUser%2FLOCALS~1%2FTemp%2Fmsohtml1%2F01%2Fclip_image001.gif)
/https%3A%2F%2Fassets.over-blog.com%2Ft%2Fcedistic%2Fcamera.png)
/https%3A%2F%2Fstorage.canalblog.com%2F83%2F83%2F312641%2F47592631_o.jpg)